A couple of months ago, when I started thinking about Christmas, I decided William (our 2 year old) would really love a little kitchen. He is always at my knees when I am cooking, and sometimes can be kept occupied by a box of spoons and pans, etc. But how much better would it be if he had his very own little kitchen to play with!
Of course, I wanted to make it myself! Knowing my boys, those plastic ones wouldn't last long, and just aren't as cool, (or as boy friendly). I wanted to make a kitchen that was built for boys, sturdy, fun, and with everything a kitchen needs!
I will take you through some pictures to tell the story of how our lovely little kitchen came to be.

After searching craigslist... and a few contacts falling through (can't rely on strangers, I guess... ha ha) we found this table for $20. It was a little more than I wanted to pay, but it was the perfect size for this project, and it worked out for us to get it.

Step one: we cut a hole for the "sink."

Here is what it looks like with the sink in the hole. We found this metal bowl at the thrift store, and made the hole just barely smaller than it. I like the effect!
Note: keep those extra wood pieces in mind for the last picture I am going to share with you.

For the faucet:
We looked at several options, including a real faucet, but all were too expensive, even at thrift stores and used places. This is a plumbing part. I thought it looked like a faucet... especially after we spray painted it metallic silver! (which works really well in a paper bag, by the way)! It won't move like a real faucet, but it does the job!

The oven door!
I was so excited to find this perfect piece! It was on a coffee table of some kind looking like it was headed for the dump, outside a thrift store. Yep, they were going to toss it, and gave us the whole table for fifty cents! I love a good deal! I kind of wanted to keep the original hardware, but that little knob thing wouldn't open and close like an oven, and I thought would be too complicated for a toddler. So it had to go.

After taking off the hardware, I taped the sides of the glass, then taped a paper bag over the glass to prevent any paint from getting on it.

Here's the fabulous silver metallic spray paint job!

Back to the table itself... we sanded it, and decided to spray paint it a plain white. Boring, I know. It was tempting to do a real pop of color, but we agreed on white. It is classic.

I have to say, it looks pretty great all spray painted!

Here are all the parts layed out before we put them on. We found most of them at the Habitat for Humanity store for very cheap. Two sink knobs, two stove knobs, the oven pull, and three hooks for the side to hang things on.

This is just a close up of where things are going. I found it helpful to mark each thing, so hubby knew where to drill. We worked as a great team on this, which made it even more exciting and special!
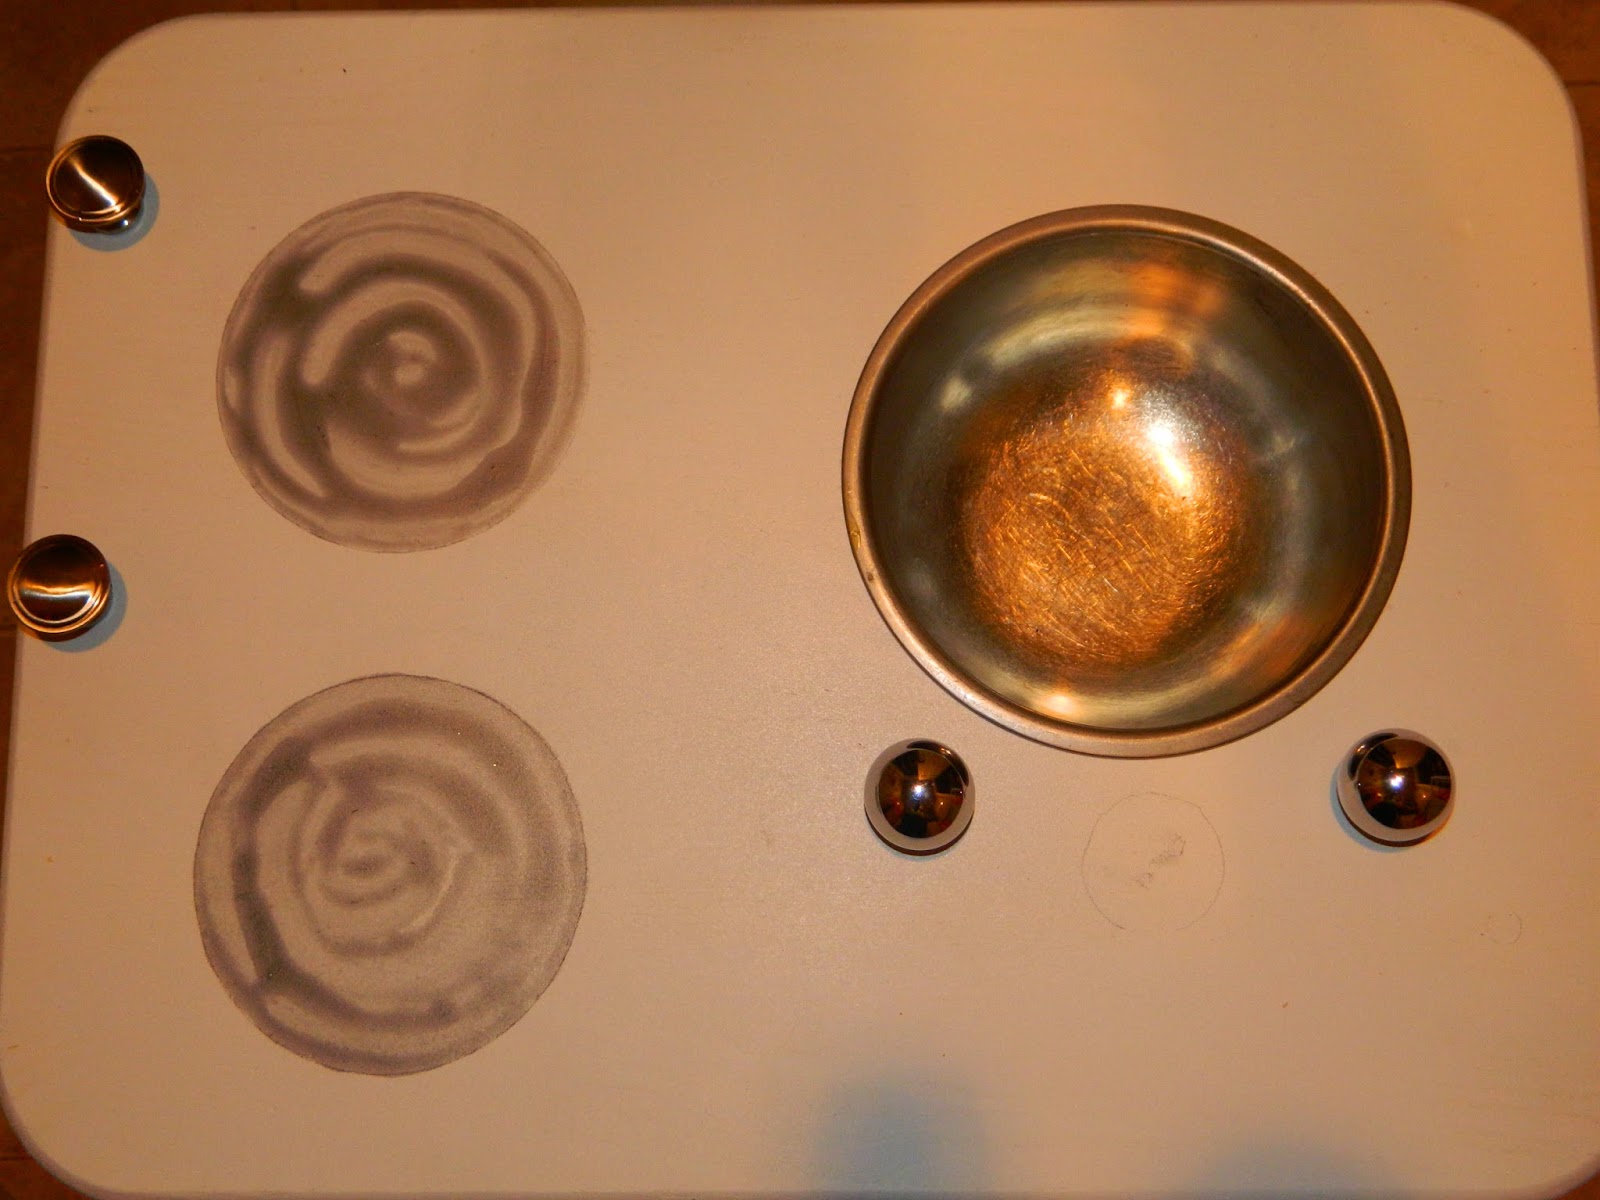
Here is a close up of the top before the faucet it on. I traced a small bowl to get the burner sizes, and then used some grey paint to give it a swirl design. The knobs are on. I left them a little unscrewed so that they can remain moveable- to turn "off" and "on."

Ta-da! here it is all finished!!! The front view! Doesn't the door look great?
the sink shelf has some storage space so I put a few bowls with play-food on it.


I had to have a magnet board on the side! the kids love playing with magnets, so it seemed the perfect thing to add! The hardware store sells small sheets like this one for pretty cheap... $4 or $5?

I made a few little pot holders to go on the hooks out of placemats from the dollar store! And I love this little cream cup that we found at the thrift store! So cute, right!

And now, if you remember those extra pieces of wood that I referenced earlier... this is what we used those for! The hole that was cut for the sink, left us with the pieces, and I just saw pizza instantly! A little red paint, and some white puff fabric paint, and you've got a cheese pizza! I added some mod podge just to coat it. I think it all turned out pretty cute!
I cannot wait to give it to our little William on Christmas!!! We also got a few extra pans and wrapped them up for him! Now he will have the perfect little spot to play.
I may have to post a few pictures of him using it!
No comments:
Post a Comment